
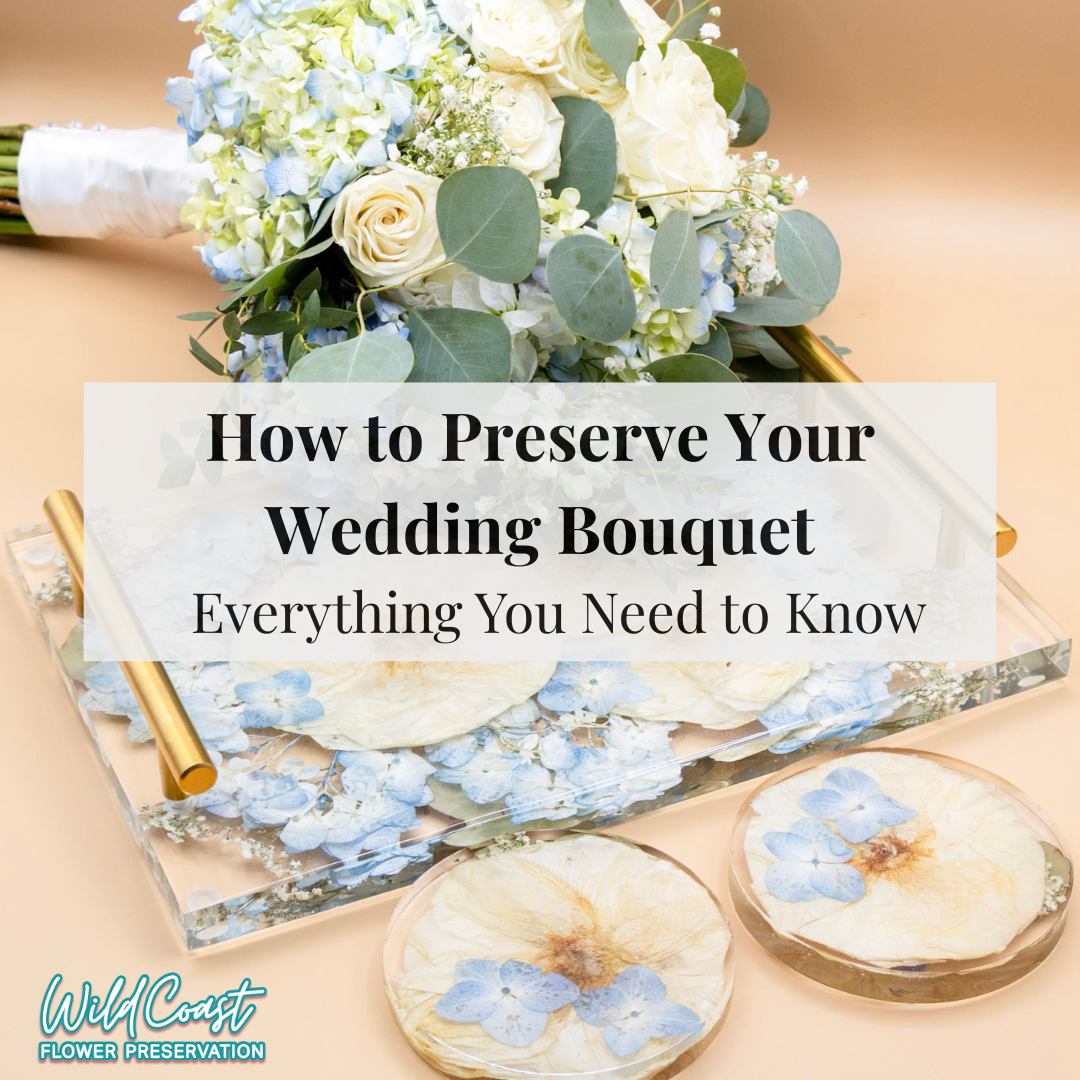
Inside Our Sanding + Buffing Department: How We Get That Mirror Finish
Summary: After your piece is built in the resin room, sanding and buffing is where it becomes display-ready. This is the hands-on stage where we let resin fully cure, true the shape, remove scratches step by step, and polish everything to a mirror finish.
If the resin department is where your keepsake is built, sanding and buffing is where it becomes flawless.
This is the stage that turns a cured resin piece into something you’d proudly display in your home. It’s also one of the most hands-on parts of our process, because every single piece is finished by hand.
Here’s what happens once your piece leaves the mold.

Step 1: We wait for a full cure (7 days after demold)
After demolding, resin still needs time to reach maximum hardness.
We allow a full 7 days so your piece can cure completely before it ever touches sandpaper. This matters because sanding too early can:
· Create uneven edges
· Cause drag marks
· Dull the finish
· Make it harder to achieve that glassy, polished look
Once it’s fully cured, it moves to our sanding and buffing team.

Step 2: We true the shape and soften sharp edges
Molds are never perfect, and resin can cure with tiny variations. That’s why our sanding and buffing team starts with structure.
They take each piece and:
· Sand down sharp edges so the piece feels smooth and sits cleanly
· Square up edges and corners
· Correct small shape issues (sometimes resin can cure slightly uneven)
This part takes a lot of control. We’re perfecting the finish without sanding too far down and getting close to the flowers inside the resin.
It’s one of the biggest differences between a piece that looks handmade and a piece that looks museum-quality.

Step 3: Progressive sanding (from 120 grit to 2000 grit)
Once the shape is corrected, we move through a full grit progression to remove scratches step by step.
Our sanding sequence:
1. 120 grit
2. 220 grit
3. 320 grit
4. 600 grit
5. 800 grit
6. 1000 grit
7. 1200 grit
8. 1500 grit
9. 2000 grit
Each grit removes the scratch pattern from the grit before it. It’s a slow process on purpose.
This is how we get edges that feel smooth in your hands and surfaces that look clean in the light.

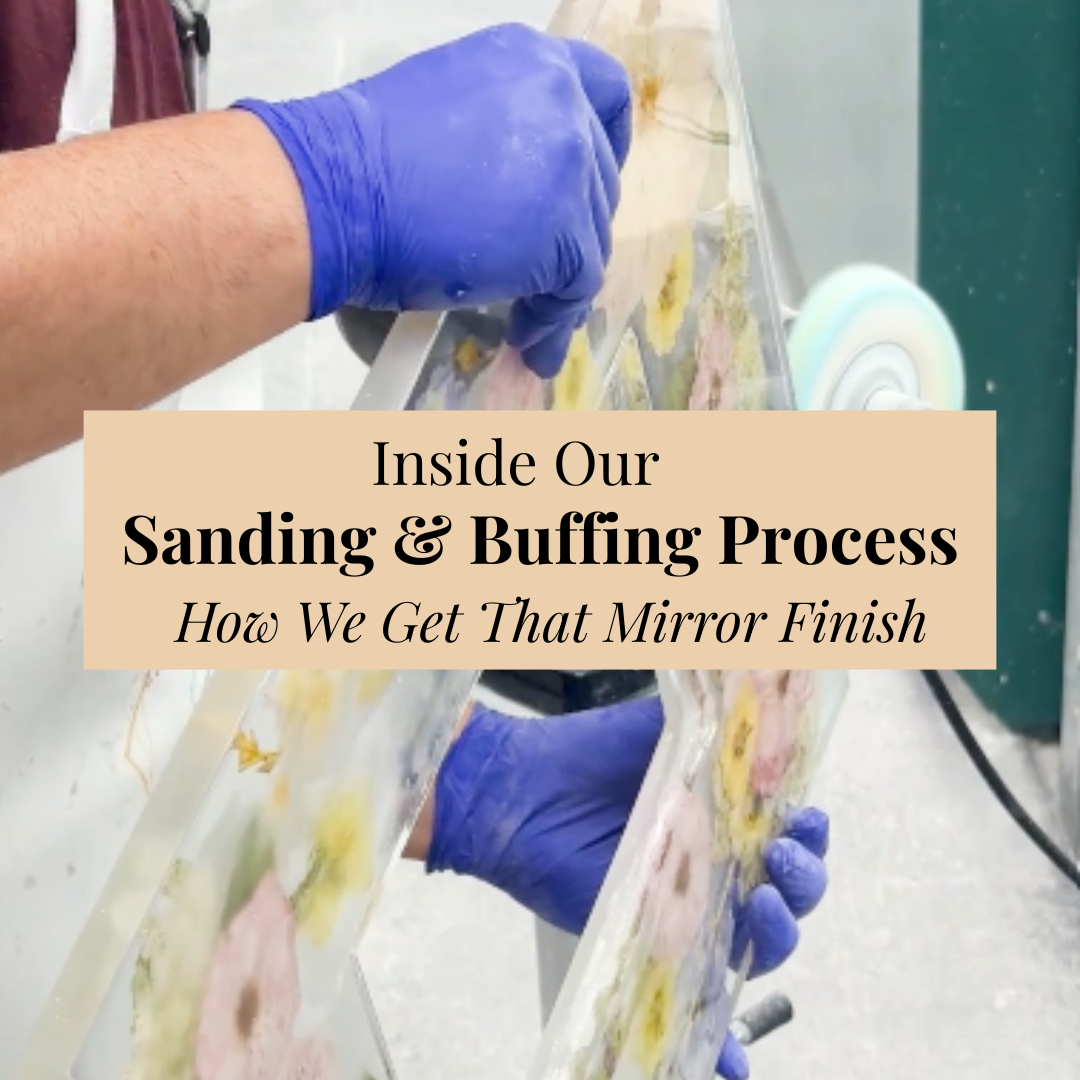
Step 4: Buffing (like car buffing, but for resin)
After sanding, the piece is buffed.
It’s similar to car buffing, but the goal is different. We’re removing micro-scratches and restoring clarity so your piece has that mirror-like finish.
This is the moment where the piece goes from frosted to glowing.
Step 5: The final polish
Once the shine is where it needs to be, we apply the final polish.
This final step helps protect the finish and keeps your piece looking beautiful as it’s handled, displayed, and enjoyed.
Step 6: Imperfection review and corrections
Sanding and buffing isn’t just about shine. It’s also a quality checkpoint.
During this stage, we review each piece for imperfections, including delicate petal or leaf fragments that may have shifted during the resin stage.
Because dried flowers are so delicate, tiny pieces can break when they’re placed in resin. Occasionally, a small fragment can float and settle where it doesn’t belong.
When we find a fragment that needs to be removed, we:
· Dremel it out carefully
· Sand the area so the surface is smooth again
· Add epoxy to ensure a seamless transition
It’s one of those behind-the-scenes details that helps the final piece look clean, intentional, and balanced.
Step 7: Drilling and installing hardware (for handled pieces)
For pieces that include handles, this department also installs the hardware.
We drill the holes and add the handles using a through-drilled method, not a method where handles are simply set with resin.
That matters for two reasons:
· Strength for years of real use
· The ability to replace handles if they’re ever damaged

Why this stage matters
A beautiful preservation isn’t just about the flowers. It’s about the finish.
This department is where:
· Sharp edges become smooth
· Uneven corners become square
· Scratches disappear
· The surface becomes clear and reflective
It’s one of the most time-intensive parts of our process, and it’s a big reason our pieces feel as good as they look.
Want to preserve your flowers?
If you’re planning ahead for a wedding, or you have meaningful flowers you don’t want to lose, the best next step is reserving your spot early.
If you have questions about timelines, finishes, or what’s possible with your bouquet, reach out. We’ll help you choose the best option for your flowers and your vision.
Written by Michelle Besu
